How to DIY a Flirt Pole for Dogs
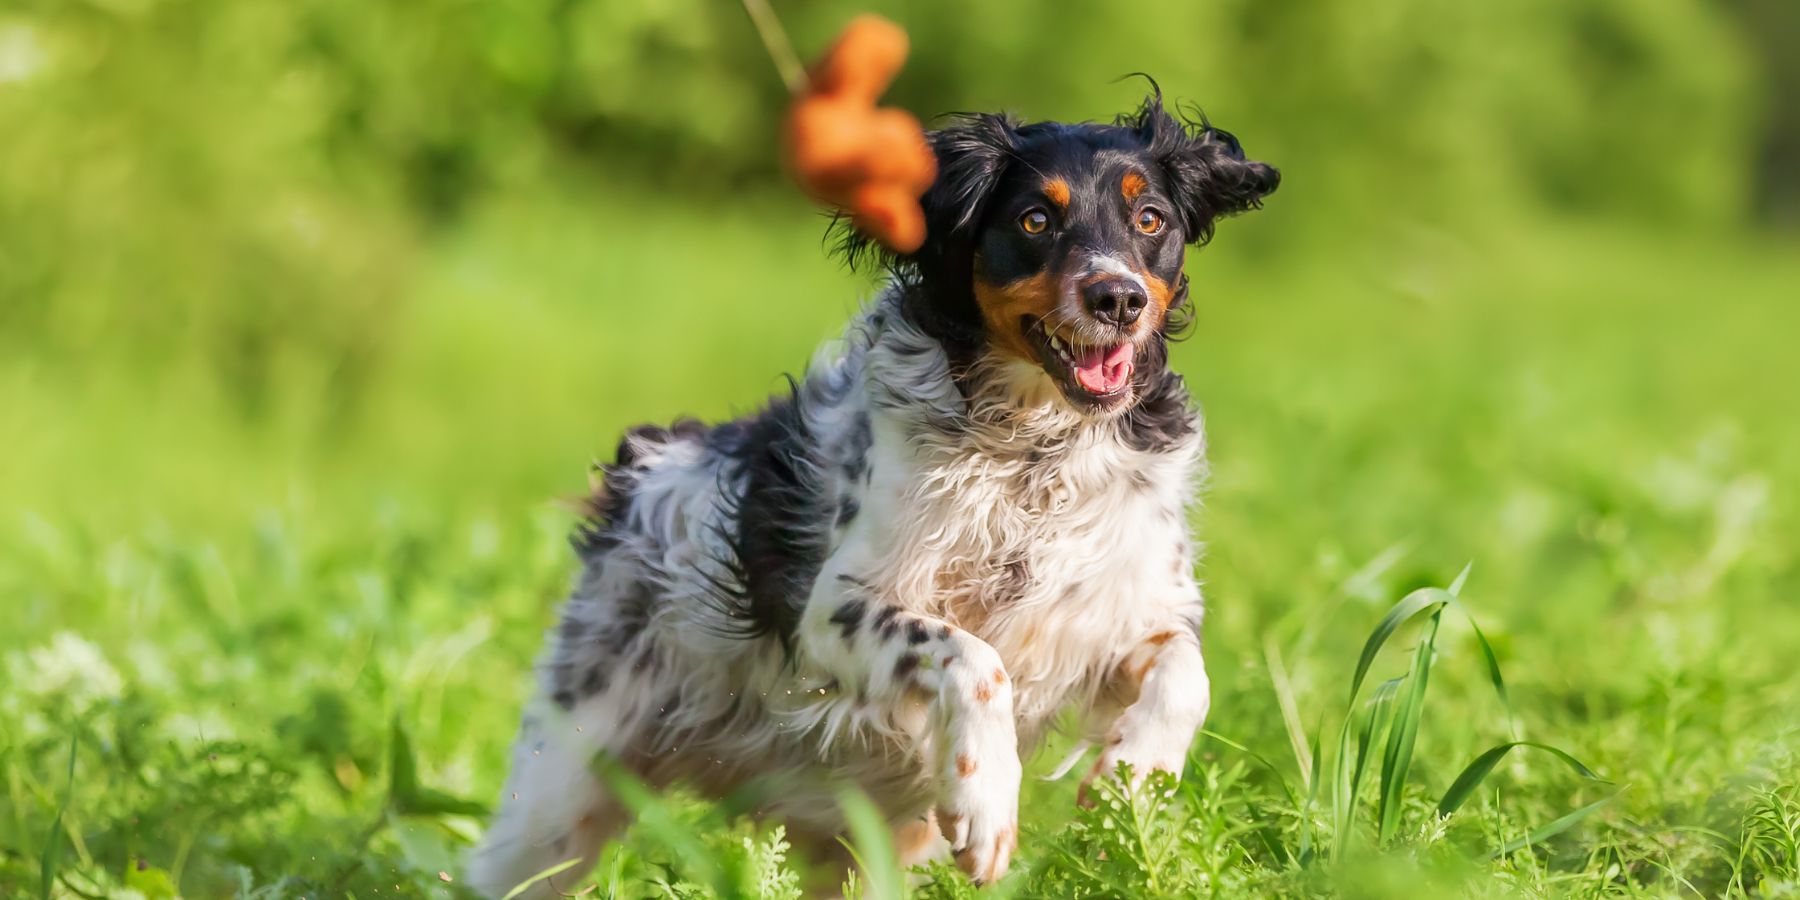
Creating a DIY flirt pole for your dog is an engaging and rewarding project. It not only provides your furry friend with hours of fun but also strengthens your bond through play. This step-by-step guide will help you craft a safe and durable flirt pole using simple materials and methods.
What You Need
- A sturdy pole (like a PVC pipe)
- Strong, braided nylon rope
- A durable dog toy
- Optional: tape for grip
- Scissors or a knife for cutting the rope
Step 1: Preparing the Pole
Select a pole that is easy for you to hold and maneuver. This could be a PVC pipe, a wooden dowel, or any sturdy stick-like object.
Consider the length: A pole that’s too long can be unwieldy, while one that’s too short won’t provide enough distance between you and your dog. Generally, a length of 4-6 feet works well.
If you’re using a PVC pipe, it can become slippery, especially during active play or if you have sweaty hands.
Wrap the handle area with durable tape, like electrical or athletic tape, to create a non-slip surface. This ensures better control and comfort during play.
Step 2: Attaching the Rope
Choose a strong, braided nylon rope that can withstand pulling and tugging.
Cut a length of about 5-8 feet. The length of the rope should be enough for your dog to freely chase the toy without getting too close to the pole, which could pose a risk of injury.
Firmly tie one end of the rope to the end of the pole. You can use a basic knot like a bowline or a double knot for added security.
Test the knot by pulling on the rope to ensure it holds tight and doesn’t slip.
Step 3: Adding the Toy
Select a toy that your dog loves and is motivated to chase. This could be a squeaky toy, a plush toy, or a rag.
Make sure the toy is durable enough to withstand biting and tugging.
Tie the other end of the rope to the toy. Use a secure knot to ensure the toy doesn’t come off during play.
It’s important that the toy is securely fastened to prevent any risk of choking or swallowing small parts.
Step 4: Conducting a Safety Check
Before letting your dog play with the flirt pole, conduct a thorough safety check.
Double-check all knots and connections. Pull on each part to ensure everything is secure and will hold up during vigorous play.
Regularly inspect the toy for signs of wear and tear.
Step 5: Introducing the Flirt Pole to Your Dog
Begin by introducing the flirt pole in a controlled environment, such as a fenced yard or indoors if space allows.
Let your dog sniff and inspect the toy and pole to become familiar with it.
Starting the Game
Start by dragging the toy on the ground to get your dog’s attention.
Gradually increase the movement, lifting the toy off the ground and swinging it gently. This encourages your dog to chase, jump, and grab the toy.
Keep the initial sessions short and sweet to gauge your dog’s interest and response.
Encouraging Play
As your dog gets more comfortable with the flirt pole, you can increase the intensity and duration of the play.
Use exciting movements, like quick twitches or circles, to mimic prey and keep your dog engaged.
Playtime Tips
Keep play sessions short to avoid over-exertion and use the flirt pole as a training tool to practice commands. Always supervise your dog during play to ensure safety.
Storage and Maintenance
After the play, store the flirt pole in a safe place and regularly inspect it for any signs of wear. Replace any worn-out parts promptly to maintain the toy’s safety and longevity.
Conclusion
A DIY flirt pole is an excellent way to provide your dog with physical and mental stimulation. It’s a simple project that offers great rewards in terms of your dog’s health and happiness. Remember to always prioritize safety and have fun during your play sessions!
Have you made a flirt pole for your dog? What tips and tricks did you find helpful? Share your experiences in the comments below and let’s engage in a community of passionate dog lovers!